Making this clip was a challenge at times, but very fun since most of the work involved post-production. I decided to make something from The Dark Knight after watching Keshen8's TDK trailer in LEGO, which now has more than 2.5 million views on Youtube. I began by watching The Dark Knight and finding a scene that I liked and could recreate. This scene seemed a good choice since there were clear starting/stopping points that worked, and the set wasn't too complicated. Other scenes I considered at one time included the Joker's truck flipping over, as well as him talking to Two-Face in the hospital. Though I would have loved to do a scene with the Joker, I don't think I could have found a suitable solution for his hair. Two-Face's half-burnt hair did present somewhat of a problem, but I was able to solve it rather easily by cutting the hair piece in half (brutal, I know).
I started work on the clip by building a set for the first shot with Gordon. Unfortunately there aren't many wide shots in this scene from the film, so I had no good reference aside from what could be seen in this shot, which wasn't much. The set I constructed was just a bunch of random wall pieces lined up to produce the proper lighted areas. The minifigure for Gordon was filmed with a blank face and torso, covered up later in After Effects, as shown in the image below.

There isn't much to be said about the shots of Batman, which I animated rather hastily. Later, while editing, I had to stretch the animation to about three times the original length so it would match the film. I accomplished this using a technique called "pixel motion" in After Effects, which can create entirely new frames between two existing ones. This explains why these shots look almost like they're in slow-motion.

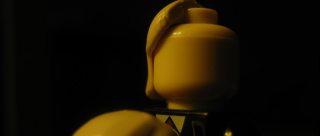
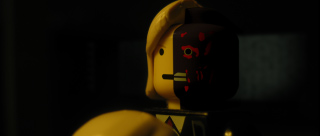
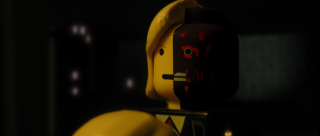
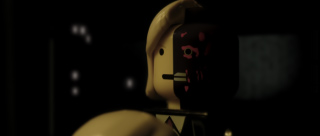
The shots with Two-Face were by far the most difficult to animate and edit. I had the reference clip from the film open on my computer while I created the animation, cycling through it frame-by-frame to ensure the motions matched up perfectly. Some background objects are visible in the film, but I decided not to build these into my set, instead adding them in post-production since I could then tweak their appearance a great deal. The wall visible in the background was rendered from Carrara Studio. Here is a breakdown of the main layers of effects added to a shot with Two-Face:

Raw footage

Burned area added

Face pattern added

CGI wall added

City lights added

Final color correction
All of the characters' faces were made in After Effects as well, mapped onto the shot using the "CC Cylinder" effect, making it very easy to turn and rotate them as needed. To make the face patterns match the lightness of each shot, I used the "hard light" blending mode. Below is the pattern for Two-Face unwrapped.

The final clip is an exact recreation of the original scene, with practically every frame matching, though it is hard to tell to some degree since they're at different native frame rates. At any rate, I hope this article has answered any questions you've had about how I made the clip. If not, send me an Email and maybe I can help.